MABUHAY!
Work inter-phase in construction is very important. It is the harmonious coordination of various trades-structural, architectural, electrical, plumbing, fire protection, mechanical and the like to complete a certain scope of work. In a complex real-life construction composed of hundreds or thousands of different activities, one must identify (usually the Project Manager) which activity is the predecessor or successor. The successor cannot start unless the predecessor is not complete. If that is the case, the delay in the construction is inevitable.
Let us study a simple example- the installation of an overhead and base modular cabinet in one of my condominium project. When you say modular, it is already cut to size and ready to install. Let us count how many work inter-phase we have from delivery to final installation.
1. DELIVERY OF MODULAR CABINETS
 |
| Delivered pre-fabricated HDF cabinets |
 |
| Parts of the HDF cabinet still in packaging |
2. ASSEMBLY OF MODULAR CABINETS
 |
| Assembly of Drawers |
CLICK the LINK to READ the related article: Construction of a Happy Kitchen
 |
| Assembly of the base cabinet |
 |
| Assembly of the overhead cabinet and installation of hardware |
 |
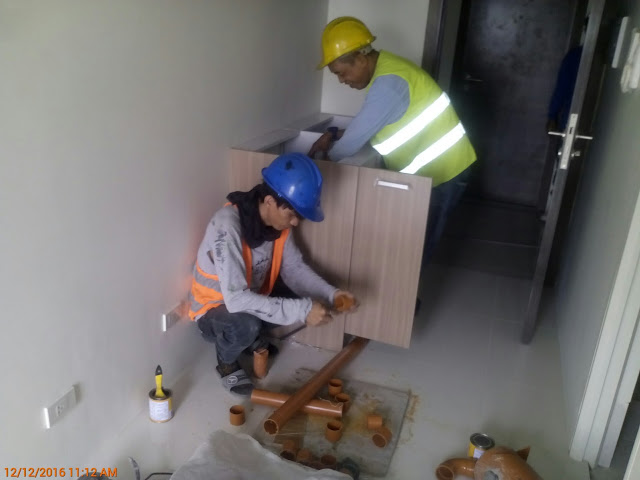
| PVC pipe stub-out for the grease trap already in place before the installation of base cabinet |
 |
| Hot and cold tapping point are already embedded. They are capped for protection from clogging. |
4. INSTALLATION OF ELECTRICAL ROUGHING-INS
 |
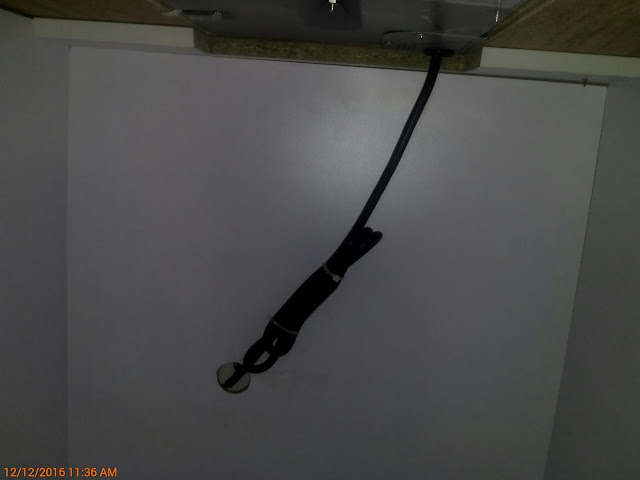
| These wires will supply the electricity for the electric stove |
5. INSTALLATION OF OVERHEAD CABINET
 |
| Checking the level of the bottom part of the overhead cabinet |
 |
| Then counter check of the level at the top portion |
6. INSTALLATION HARDWARE AND HANDLES
7. INSTALLATION OF OPEN SHELVES
8. INSTALLATION OF RANGE HOOD
10. INSTALLATION OF FILLER
 |
| Wood filler to seal the gap between the concrete wall and overhead cabinet |
11. INSTALLATION OF BASE CABINET
12. CORING FOR GREASE TRAP DRAIN PIPE
 |
| Use a hole saw for a perfect fit of the pipe. Seal the gap between the pipe and the base cabinet with polyurethane sealant to prevent the entry of insects. |
13 ASSEMBLY OF GREASE TRAP
14. INSTALLATION OF GREASE TRAP
 |
| Plumbers installing the grease trap |
CLICK the LINK to READ the related article: Construction Education: Installation of Anti Termite Reticulation Pipes
 |
| The installed grease trap |
15. INSTALLATION OF HARDWARE AND HANDLES
 |
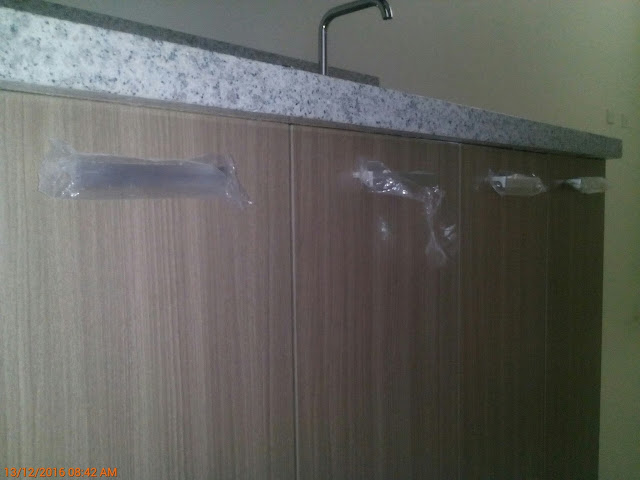
| Installation of doors and handles for the base cabinet |
 |
| Installation of doors and handles for the base cabinet |
16. INSTALLATION OF FILLER
 |
| The filler will seal the gap between the door jamb and the base cabinet |
17. INSTALLATION OF 3/4" THK MARINE PLYWOOD BACKING
 |
| Before installing the plywood backing to receive the granite countertop, block out the portion where the kitchen sink and the electric stove will be placed. |
18. INSTALLATION OF GRANITE COUNTERTOP
 |
| Block out also the portion of the kitchen sink and the stove in the granite countertop |
 |
| Before fixing the granite countertop, make sure the backing must overlap |
 |
| Check the corners make sure the granite countertop and the backing are in a perfect fit |
19. INSTALLATION OF KITCHEN SINK AND FAUCET
 |
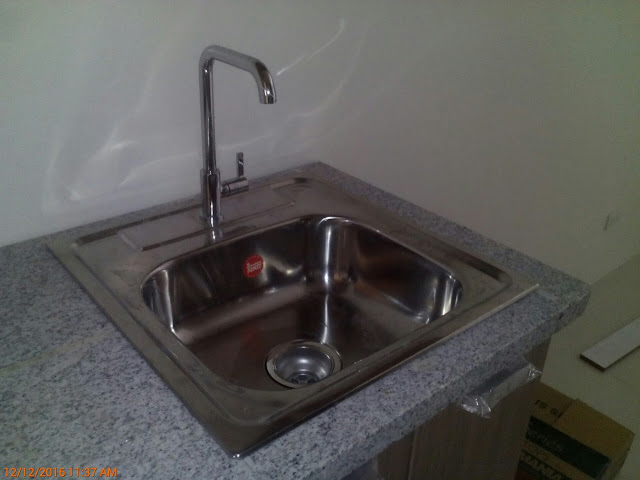
| Seal off with silicone sealant the ream of the kitchen sink in contact with granite countertop to prevent the seepage of water |
20. CONNECTING THE SINK TO THE GREASE TRAP
21. INSTALLATION OF ELECTRIC COOKTOP
 |
| Make sure the cooktop is squarely fitted on the edges of the granite countertop |
CLICK the LINK to READ the related article: Enhancing Construction Education by Attending Philconstruct 2016
 |
| The installed electric cooktop |
22. CONNECTING THE COOKTOP TO THE ELECTRICAL SUPPLY
 |
| All electrical works must be done by a licensed electrician |
23. INSTALLATION OF GRANITE SPLASHBOARD
 |
| All gaps between the granite countertop and the splashboard must be sealed by a polyurethane sealant |
24. INSTALLATION OF ELECTRICAL DEVICES
 |
| Make sure the switch plate must be squarely fitted with the granite splashboard |
25. FINAL INSPECTION, CLEANING, AND TESTING
 |
| The completed base cabinet |
 |
| The completed overhead cabinet |
26. FINISH PRODUCT
 |
| The completed installed kitchen cabinet with plumbing fixtures |
PLANNING without EXECUTION is DAYDREAM but EXECUTION without PLANNING is NIGHTMARE.
CLICK the LINK to READ the related article: Construction of Duplex Resort Villa At Clark Freeport Zone


Concrete Disposal Vancouver
ReplyDelete