MABUHAY!
Another quality issue that requires a careful study on what rectification method to apply is the concrete hairline cracks. This is the most common punch list for rectification during hand-over phase of a building construction. Concrete has relatively high compressive strength, but significantly lower in tensile strength, and as such is usually reinforced with materials that are strong in tension (often steel). The elasticity of concrete is relatively constant at low-stress levels but starts decreasing at higher stress levels as matrix cracking develops. Concrete has a very low coefficient of thermal expansion, and as it matures concrete shrinks. All concrete structures will crack to some extent, due to shrinkage and tension. Concrete hairline cracks manifest in many ways:
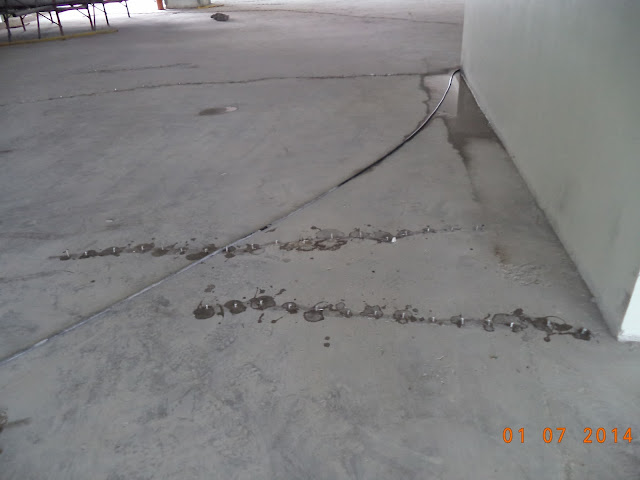
HAIRLINE CRACKS ON CONCRETE SLAB
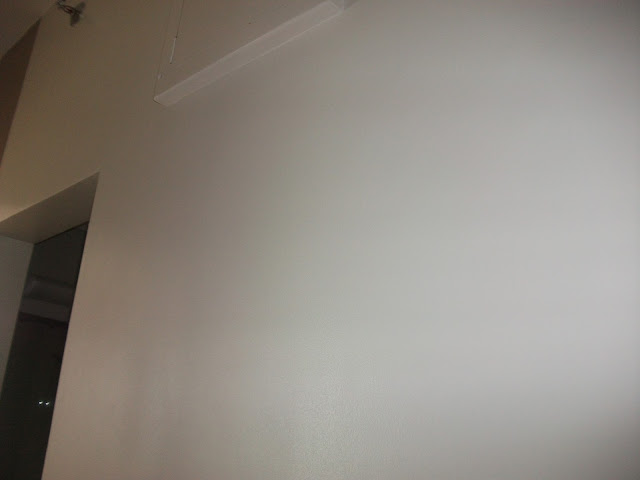
HAIRLINE CRACKS ON CONCRETE PLASTER
CLICK the LINK to READ the related article: Concrete Construction Productivity Bootcamp 2018
HAIRLINE CRACKS ON CONCRETE TOPPING
HAIRLINE CRACKS ON CONCRETE BEAMS
HAIRLINE CRACKS ON CONCRETE PRECAST
CLICK the LINK to READ the related article: Controlled Demolition: A Systematic Way of Knocking Down Concrete
ROOT CAUSES
HAIRLINE CRACKS ON CONCRETE SLAB
- Improper curing. When the concrete slab already hardened, it must be cured with clean water 7 consecutive days. When concreting during summer or very hot weather, it will be very helpful cover the concrete slab with jute sack or polyethylene sheet when curing it with water to prevent rapid evaporation.
- Premature removal of shoring. During stripping of forms, when the concrete did not attain yet the specified curing period, additional shoring is needed especially at midspan.
HAIRLINE CRACKS ON CONCRETE PLASTER
- Not following the specified design mix ratio for cement and fine aggregates usually 1 bag of Portland cement (40kgs/bag) per 3 cu ft of white screened sand.
- putting too much water on the plaster mix
- Improper restoration of plastering after chipping works to embed mechanical, electrical, plumbing and fire protection (MEPF) roughing-ins.
HAIRLINE CRACKS ON CONCRETE TOPPING
- Improper curing. When the concrete topping already hardened, it must also be cured with clean water 7 consecutive days, especially on exterior decks.
- Lack of wire mesh or metal lathe reinforcement for 50mm thickness and above.
HAIRLINE CRACKS ON CONCRETE BEAMS
- Premature removal of shoring. During stripping of forms, when the concrete did not attain yet the curing period, additional shoring is needed especially at midspan.
HAIRLINE CRACKS ON CONCRETE PRECAST
- Improper curing. When the concrete precast already hardened, it must also be cured with clean water 7 consecutive days.
- Improper handling during transportation to the job site or precast yard.
REPAIR METHODOLOGY
EPOXY INJECTION - this repair method is being used when hairline cracks penetrate through and through. Also, if there is a need for a watertight solution like a basement, roof decks, and exterior walls, this method offers the best solution.
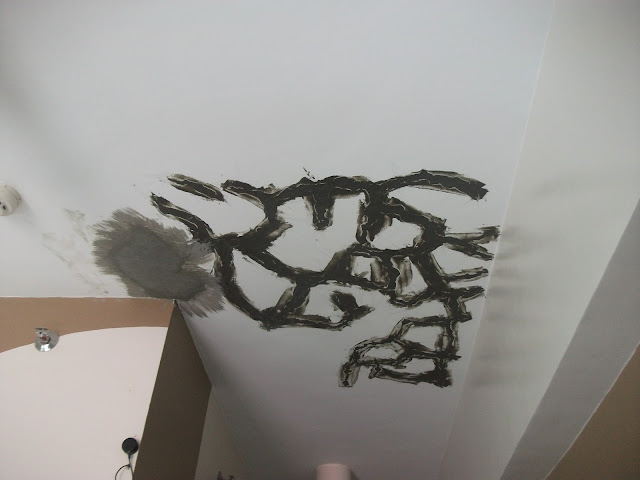
CRACK MAPPING
It is very useful to have a crack mapping plan to estimate the quantity to be rectified and verify the priority areas to be injected.
EPOXY INJECTION EQUIPMENT
EPOXY INJECTION CHEMICAL
For this particular repair work, we used Sealbond 218-P Pressure injection epoxy.
REPAIR METHOD
CLICK the LINK to READ the related article: Video Tutorial For Concrete Education Part 1: ASTM C31
CONCRETE EPOXY PLUG- this rectification method is very effective for hairline cracks within the interior and exterior sides of the building. The method statement to be followed is as follows:
1. Prepare a crack mapping plan to identify the key area to be rectified.
2. On wall or soffit of the concrete slab, widen the spotted hairline cracks for at least 2mm-3mm V-shaped groove by grinding or manual chipping.
3. Clean the groove by brushing off excess concrete and dust.
4. Dampen the affected surface with clean water using a sponge or clean rag.
5. Patch the groove with 1 part Portland cement mixed with Pioneer Pro Concrete Epoxy HV. Let it cure at least 4-6 hours.
6. Finish the concrete surface as specified.
CONCRETE EPOXY PLUG AT EXTERIOR PARAPET WALL
CONCRETE EPOXY PLUG AT ROOF DECK'S TOPPING
CLICK the LINK to READ the related article: Innovation: Skim Coat & Concrete Mortar Binder for Concrete Surface Correction
CONCRETE EPOXY PLUG AT INTERIOR PLASTERED WALL
This is a quick and best solution for crack rectification on interior plastered wall with painting works. The Portland cement mixed with concrete epoxy cures fast and is compatible with all kinds of paints.
CLICK the LINK to READ the related article: Tile Installation: Concrete Dry Pack Method
CONCRETE EPOXY PLUG AT EXTERIOR PARAPET WALL
CONCRETE EPOXY PLUG AT ROOF DECK'S TOPPING
After plugging the deck, we conducted a flood test to verify if the water will still penetrate through the patch. No leak was found.
CLICK the LINK to READ the related article: Innovation: Skim Coat & Concrete Mortar Binder for Concrete Surface Correction
CONCRETE EPOXY PLUG AT INTERIOR PLASTERED WALL
This is a quick and best solution for crack rectification on interior plastered wall with painting works. The Portland cement mixed with concrete epoxy cures fast and is compatible with all kinds of paints.
 |
| This patching mixture of cement and concrete epoxy cures quickly say 1 hour. |
 |
| You can now apply the masonry putty for surface correction. |
 |
| After the masonry putty dries, use sanding paper to make the surface even. |
 |
| Painting of the primer coat. |
 |
| Apply the finishing coat for the completion of rectification. |
CONCRETE EPOXY PLUG AT SLAB SOFFIT
CONCRETE EPOXY HIGH VISCOSITY MIXED WITH PORTLAND CEMENT
There are many concrete epoxies available in the market, but for this particular project, we used Pioneer Pro Concrete Epoxy High Viscosity (HV).
CLICK the LINK to READ the related article: Tile Installation: Concrete Dry Pack Method


